IDEXX Outside Lab Procedures
Ordering a lab request using IDEXX Outside Labs
First, choose the desired Patient/Visit that you would like to create/add a new order to from within SpecVet X.
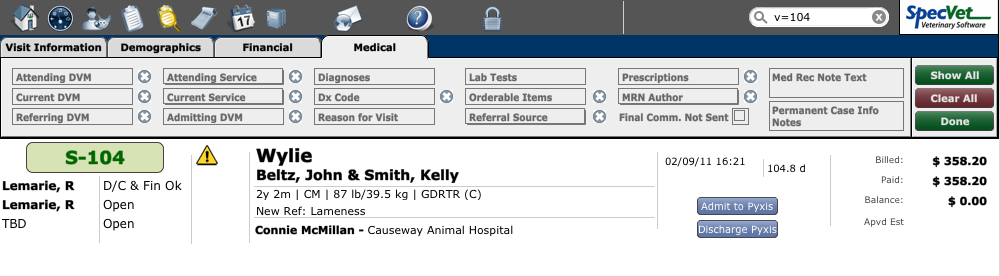
Next, click on the desired visit or patient ID.
At the top of the page under the Patient/Visit detail, click on the ‘Orders’ Tab.

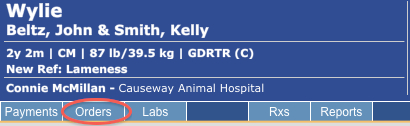
When the ‘Orders’ list for that patient/visit opens, click on the ‘New Order’ button located above the Order Workflow window.

After clicking on the green ‘New Order’ button, the ‘Order Selection’ pop-up window appears.
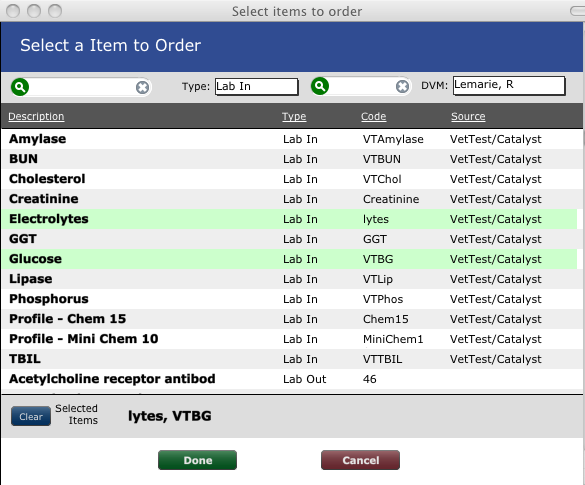
While viewing the ‘Order Selection’ window, the user can search and sort orders by description, type, order code or source, as well as choose an attending DVM.
For example, when ordering Electrolytes, search for order code “lytes”.
In this window the user can select either a single, or multiple Orderable Items. After selection is complete, the orderable item will be highlighted in green.
In the ‘Orderable Items’ pop-up window, after selecting the desired Orderable Items choose ‘Done’.
The ‘Orderable Items’ pop-up window will automatically close and the items ordered will now populate in the Orders list on the left hand side of the SpecVet application. A time stamp will be generated in the Order Workflow window to indicate precisely the date and time the item was ordered.
When an Orderable Item is accidentally added via the ‘Orderable Items’ pop-up window, the user can delete it simply by clicking on the circular red icon to the right of the undesired orderable item in the orders list.
Ordering Outside Labs & Printing Lab Requisitions
When ordering an outside lab, first create the order by going navigating to the desired Visit/Patient ID and clicking on the ‘New Order’ button in green.

Next select the desired orderable item/lab request from the pop-up menu. Orderable items are sortable and filterable by description, type, code and source.
Once the desired Orderable Item has been successfully added to the visit/patients’ records, and the workflow has populated on the right hand side of the ‘Orders’ tab screen.
The user is then able to print lab requisitions using the ‘Print Lab Requisition’ button located at the bottom right-hand side of the Visit Order Module window underneath the ‘Order Notes’ section.

Once the order has been successfully added to the Visit Order module, the user may print a lab requisition for the outside lab ordered.
After the lab requisition has been printed, they must now be physically sent to the lab.
Viewing Outside Lab Results
Once the order has been added to the Visit Order module and the printed requisition has been given to the lab, navigate back to the SpecVet home page.
Once at the SpecVet home page, click on the ‘Lab Interfaces’ button to access lab results.
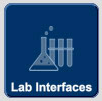
To import and view IDEXX Outside lab results, click on the ‘Idexx [Out]’ tab at the top of the ‘Lab Interfaces’ module.

Next, follow these instructions, listed under the ‘Idexx [Out]’ tab in SpecVet.
Please go to vetconnect.com.
There you can log in with your clinic’s user Name and Password.
Search for labs by entering in a Client Last Name, Patient Name or a Date Range and click “Search VetConnect Results”.
Find the lab(s) you wish to import and select the check box under the “Select” column and click the red “Import” button.
The lab file has now been downloaded to your computer.
To finish importing the lab, click the “Import Lab File” button below.
Navigate to and select the lab file you just downloaded and click “ok/choose”.
Review and check for Orphaned Labs that you might need to manually link.
After following these steps outlines in SpecVet itself the results will be available for viewing in SpecVet.